Manchester’s largest subcontract supplier of precision sheet metal parts, components, and fully assembled pieces
Constant Group is a 60,000ft2 manufacturing site, based in Oldham, Greater Manchester.
Employing over 80 people we offer a full-service package through every stage of the production process—all under one roof.
As a full-service solution for sheet metal sub-contracting, we can facilitate every stage from design to delivery for your next project.
Design
An experienced team of design engineers allows us to bring added value manufacturing to your project from the outset.
Prototype
From design to prototyping to make sure you’re happy with the product, and that we’ve made it as efficient for batch or mass production as possible.
Production
Our large multifaceted manufacturing site can accommodate one-off to mass production runs on your project including assembly.
Delivery
A fleet of wagons and vans allow us to deliver locally in the North West as well as nationwide deliveries, often next working-day.
British manufacturing
High street to your street
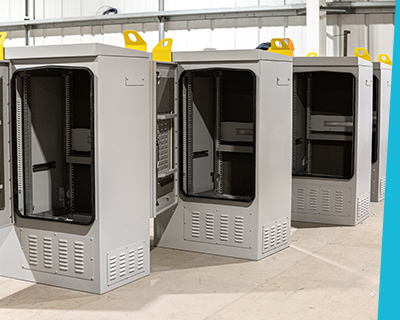
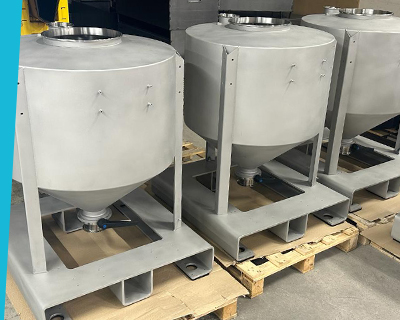
You’ll have passed a Constant cabinet walking the dog, picked a product off a shelf that we fabricated, or eaten a meal-deal sandwich prepared on the food processing units we manufactured. That’s because Constant is woven into British telecom, medical, food and industrial infrastructure.
Brochure
Download our company brochure, cabinet and enclosures guide as well as our case study pack